Overview
Landing pages are static web pages hosted on our servers. They can be used to extend your email and SMS messages, redirecting subscribers to a webpage with more information.
How to Create a Landing Page
To create a new landing page:
- Hover over the page icon with the winner badge / ribbon close to the bottom of the left side navigation
- Click Create Landing Page
Step 1: Composition Method
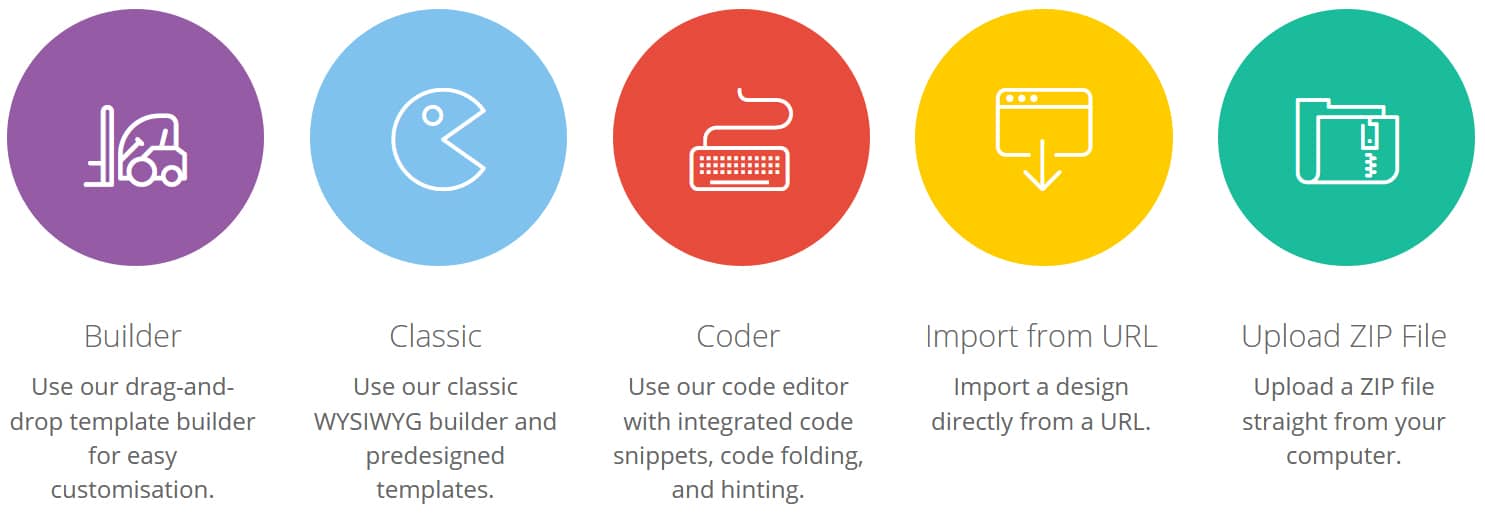
Select a composition method from these available options:
- Builder: A drag-and-drop builder to create a landing page without any HTML knowledge
- Classic: Our WYSIWYG (What You See Is What You Get) interface that allows you to create a landing page with some HTML elements
- Coder: Our code editor for advanced users to upload or edit landing page templates using HTML or CSS
- Import from URL: Import a landing page directly from a website or CMS
- Upload from ZIP: Upload a ZIP file straight from your computer. Zip file must contain the index.html in the root folder. Images and CSS must be in folders
Step 2: Template Selection
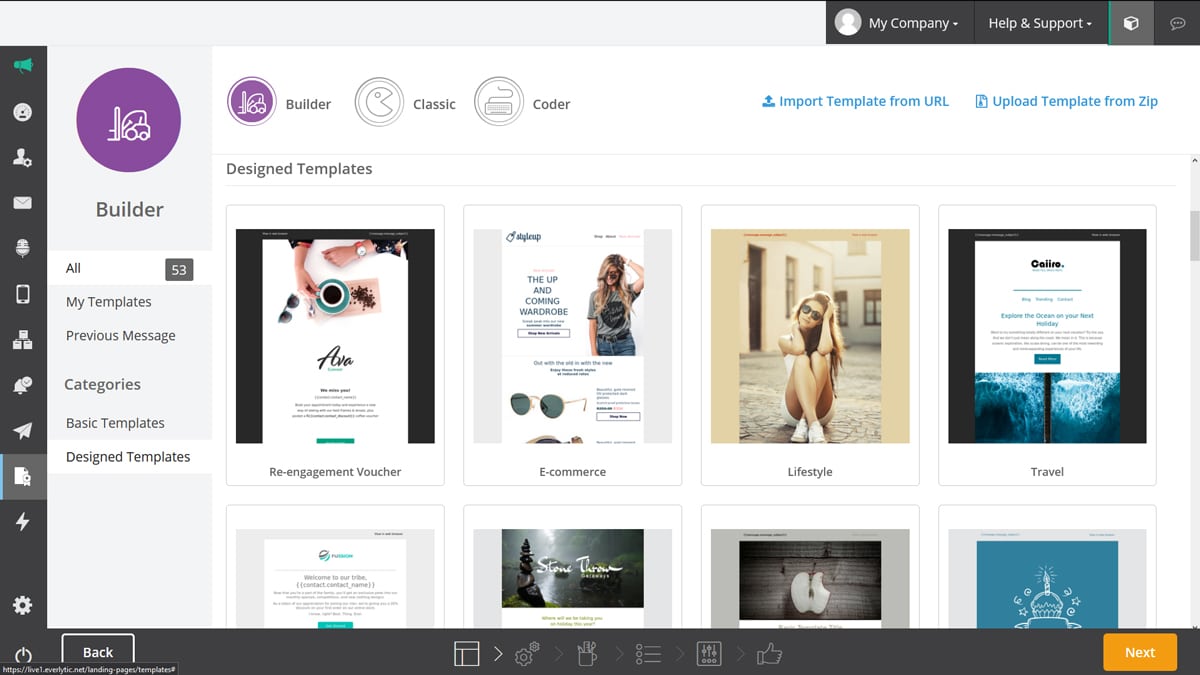
On this page, you can preview or select different templates and filter by category on the left. You can also change your composition method here by toggling between the listed options.
Step 3: Landing Page Properties
Like email properties, the landing page properties let you define specific details of your page.
| Property | Description |
|---|---|
| Page name | The name of the landing page, to distinguish it from your other landing pages in our platform. |
| Page description | A description of the webpage. Customers won’t see this. |
Step 4: Composition
Follow the composition steps of your selected method. These follow a similar process to email composition. For a detailed breakdown of the features of these composition methods, click on these links:
Attachments
To add an attachment or a calendar invitation to the bottom of your landing page:
- Click Add Attachment on the top bar.
- Click Browse Computer to find and upload a file from your computer or Create Event to specify the details of your calendar invitation.
- Click Done once the file or event has uploaded.
Step 5: Browser Settings
This is where you can specify the SEO (Search Engine Optimisation) details for your landing page.
- Page Title: The name of the landing page, seen from the tab of your web browser.
- Page Description: A short description of the web page, used for website summary.
- Page URL: We generate the first half of your landing page URL. Add your custom URL name to the text box.
Step 6: Confirmation Page
This is the final step of composition. Here, you can:
- View a preview of the landing page
- Check the page properties and SEO settings
- View any attachments or calendar invites
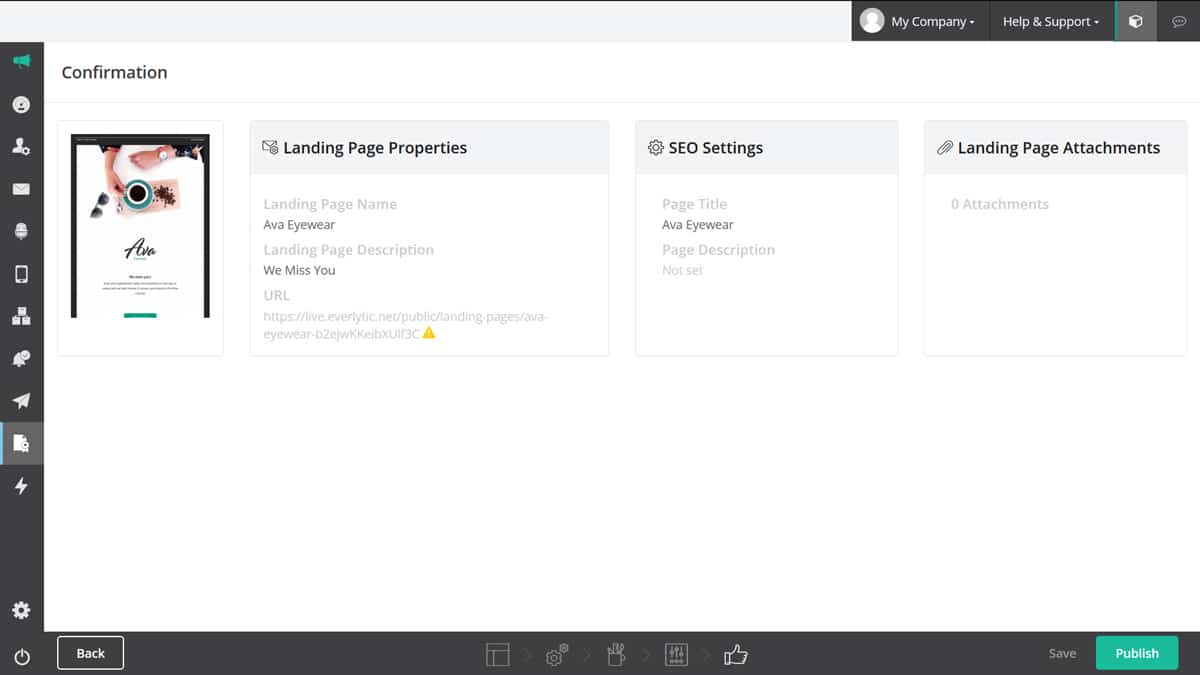
Once you’re satisfied, click the turquoise Publish button in the bottom right-hand corner to make your landing page live. You can test the provided link in your web browser.
QR Code for Landing Page
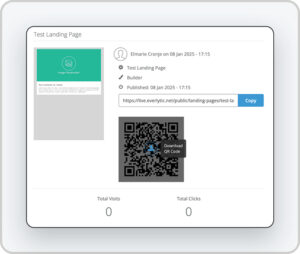
After successfully publishing the landing page, a QR code will be available instantly on the page under the URL link for the landing page.
Scanning the QR code will transport you to the created landing page.
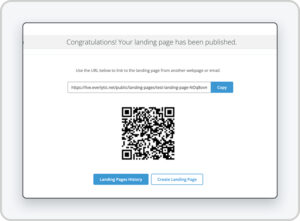
Hover your cursor over the QR code to download a transparent PNG for branding purposes.
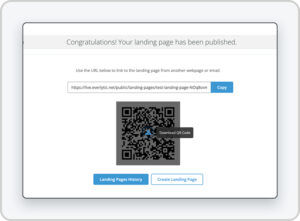
The builder also offers the ability to view QR codes associated with landing pages you’ve previously created. This can be found under Landing Page History.
