Overview
We’re upgrading the way you manage your contacts in our platform. We have released a beta version of the new interface (read about the previous version here).
On this page, you can learn about this new contact management dashboard, its functionality, and how to view, add, and edit contact data.
Note: Please feel free to send us feedback on this new page via the feedback form at the bottom of this page.
The Contact Manager
To get to the Contact Manager, navigate to Contact Management > Contact Manager (NEW).
From here, you can:
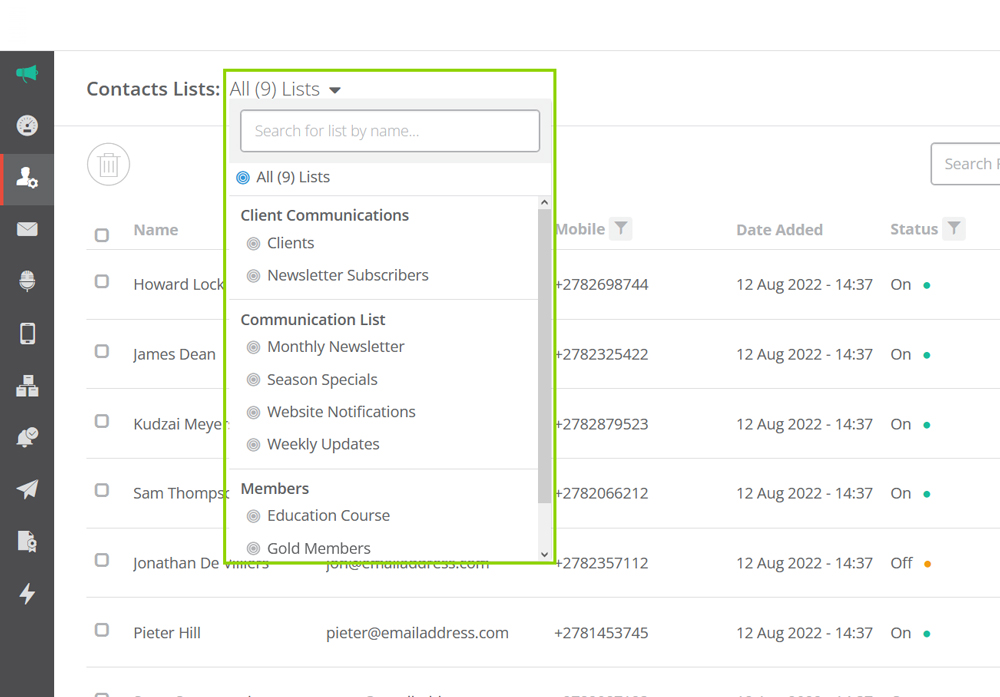
- Filter by all lists, or a specific list, using the drop-down in the top bar.
- See an overview report of the selected list/s by clicking the Overview Report button.
- See how many contacts are linked to the selected list/s in the top bar.
- Search for a specific contact using the search bar (use the advanced search tab for more options).
- Add a contact or Import a new list using the Add Contact button (more on this below).
- See an overview of each contact’s data in the list, including their name, email address, mobile number, the date they were added, and their status.
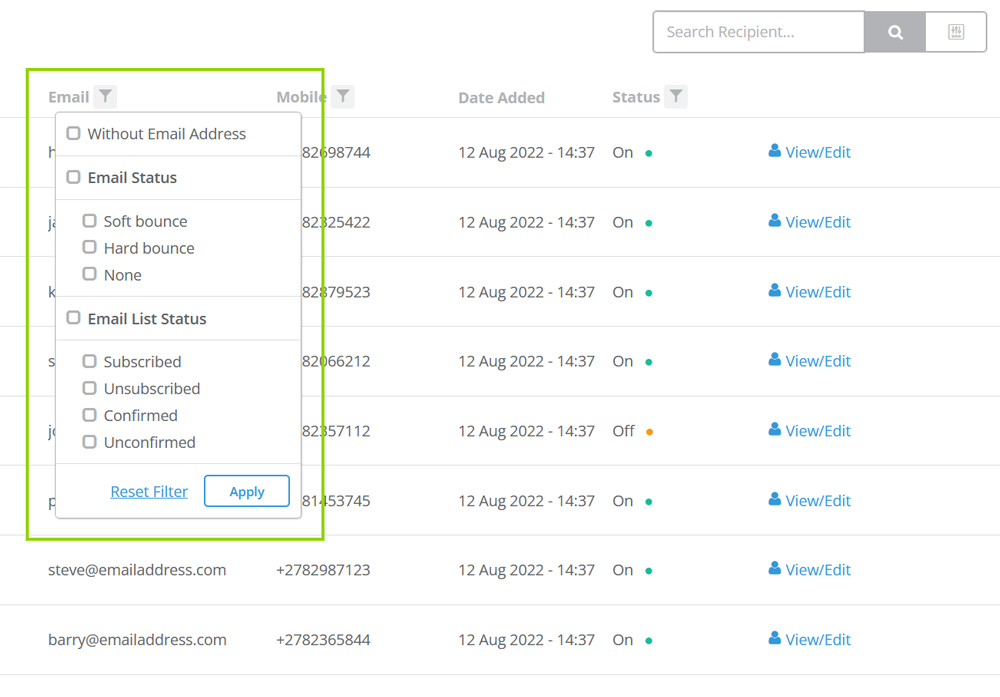
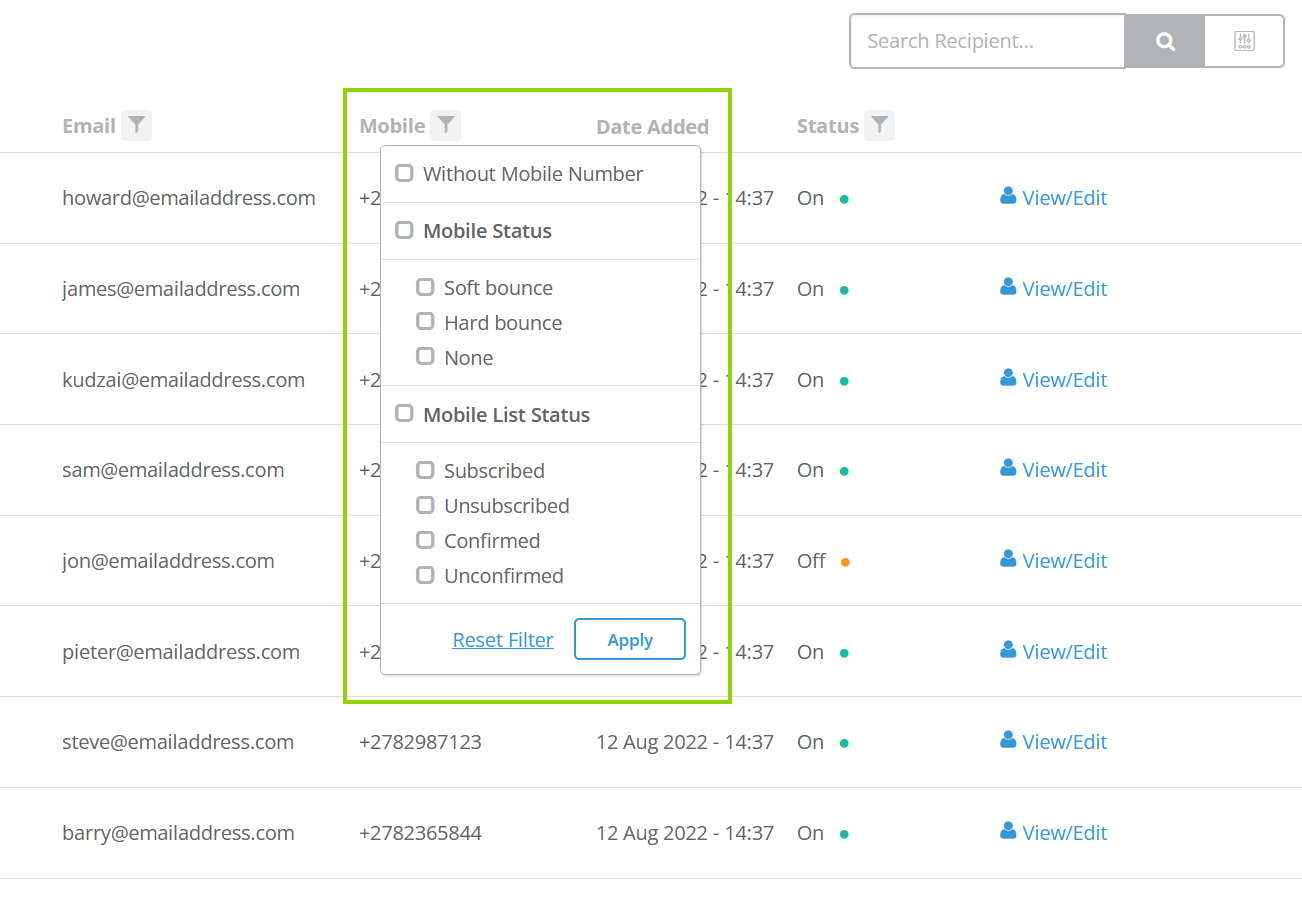
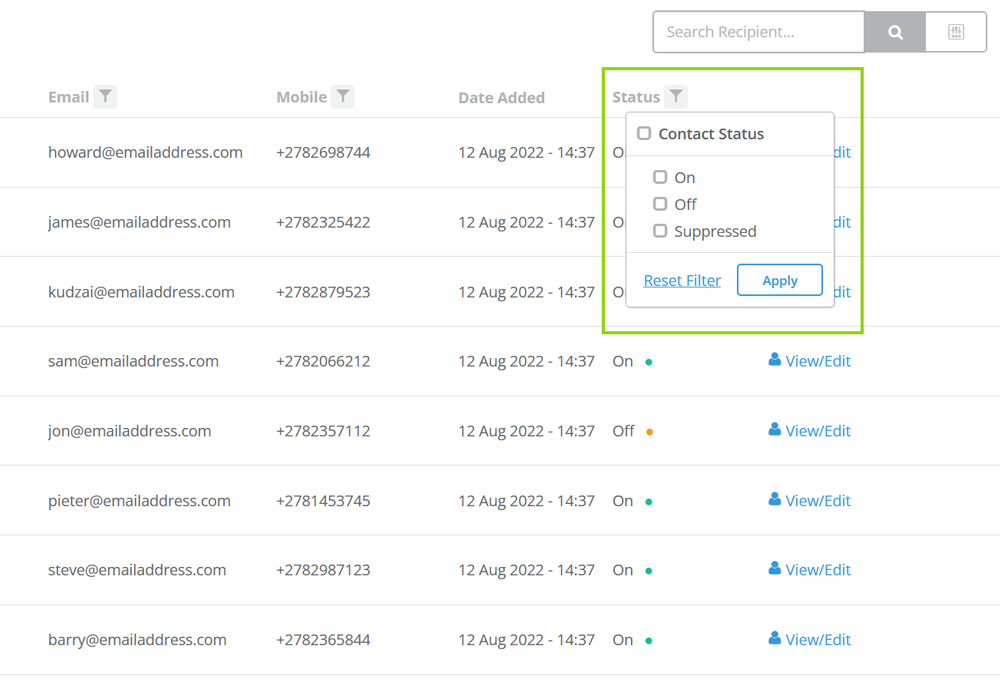
- Filter the contact data by list, email, mobile number, or profile status (see examples below of the various filtering options).
- View an individual contact’s profile by clicking the relevant View/Edit button.
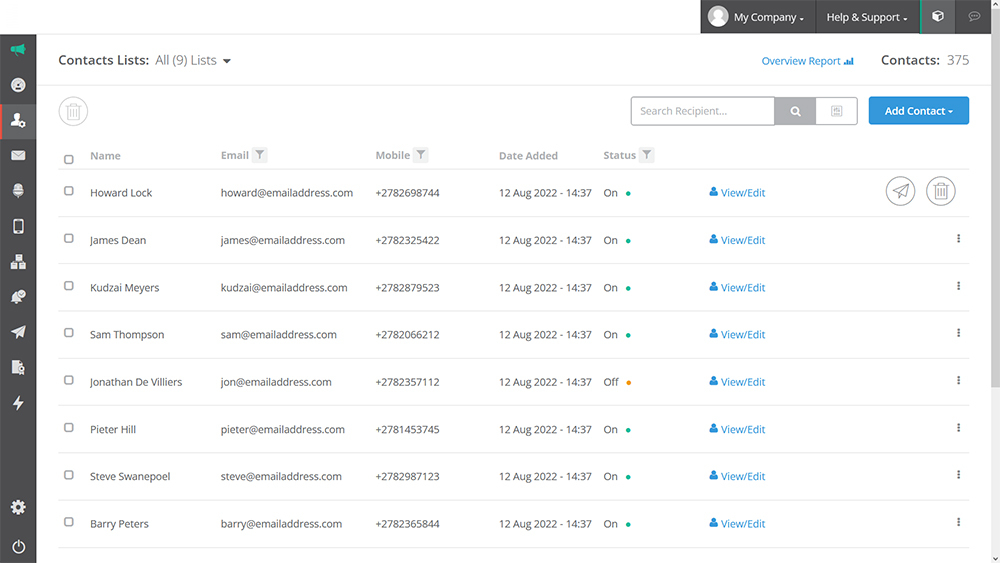
Hover over the contact and icons will come up on the right that also enable you to:
- Resend a confirmation email to confirm that they want to opt into your database
- Delete the contact
The Contact Profile
To view an individual contact’s profile, find them using the list filter (top left of the contacts dashboard) and / or the search bar (top right) and click on the relevant View/Edit profile button. This will direct you to the contact’s profile page.
On the profile page, you can view and edit certain fields:
- Basic contact data on the left (first name, last name, email address, mobile number, gender, marital status, birth date, date and time created, contact ID, custom contact ID, and contact score)
- Additional information, custom fields, and tags in the centre (title, address, city, country, province/state, postal/zip code, education level, and more)
- A log of the contact’s activity and interest-based tags on the right (subscriptions, messages sent, clicks, workflow enrolments, etc.)
Scroll down and you’ll also be able to see:
- Overall engagement stats by email, SMS, and voice broadcasting
- Total number of orders if you’ve integrated your ecommerce store
- Lists that the contact is subscribed to in the centre, split by email, mobile, and web push notifications. You can also send a confirmation email from here to confirm that the contact wants to be subscribed to these lists and subscribe / unsubscribe / remove the contact from the different channel subscriptions manually
- Which workflows the contact is enrolled to – right at the bottom, in the middle.
How to Add a Contact
There are two ways you can add contacts.
- On the Contact Manager interface, hover over the Add Contact button and either:
- Add one “new contact” (which will bring up the New Contact modal)
- Import a list of contacts (which will direct you to the Imports page– read those instructions to learn how to import a list into the platform)
- On an individual contact’s profile, click on the Add New Subscriber button. This will also bring up the New Contact modal.
The New Contact Modal
Usually, contacts will be added to a list via a subscription form or when you import a list of contacts into the platform. But if you just have one contact you’d like to add, the New Contact modal is most convenient. To do this, go to:
- Manage Contacts > Add Contact > New Contact; or
- Manage Contacts > View/Edit > Add New Subscriber
The modal that comes up enables you to add contact data, specify which lists you want to add them to, add a custom ID and contact status, and confirm if they’ve opted in for your messaging.
Once you’ve filled in this info, click:
- Create, to finalise and close the modal, or
- Create & Manage to create the contact and open their profile page.

