
Overview
When you next compose an email message, you’ll be able to select the template in the first step and edit it accordingly.
Templates are useful when you have a standard format and layout for certain emails. If you have an email template of your own, you can add it to the system. A graphic designer can create a simple, easy-to-use template for all your newsletters, and you can pop the HTML code for that design into the system.
The Foundation Template
The Foundation template offers you the ultimate flexibility and customisability when building emails in our platform. Over and above the standard layout sections available in our email builder, the Foundation template gives you additional custom layout sections. This gives you a lot more flexibility on how you can build and customise emails… And it’s fun to play with.
When picking a template in email composition, go to Basic Templates and it’s the first one available.
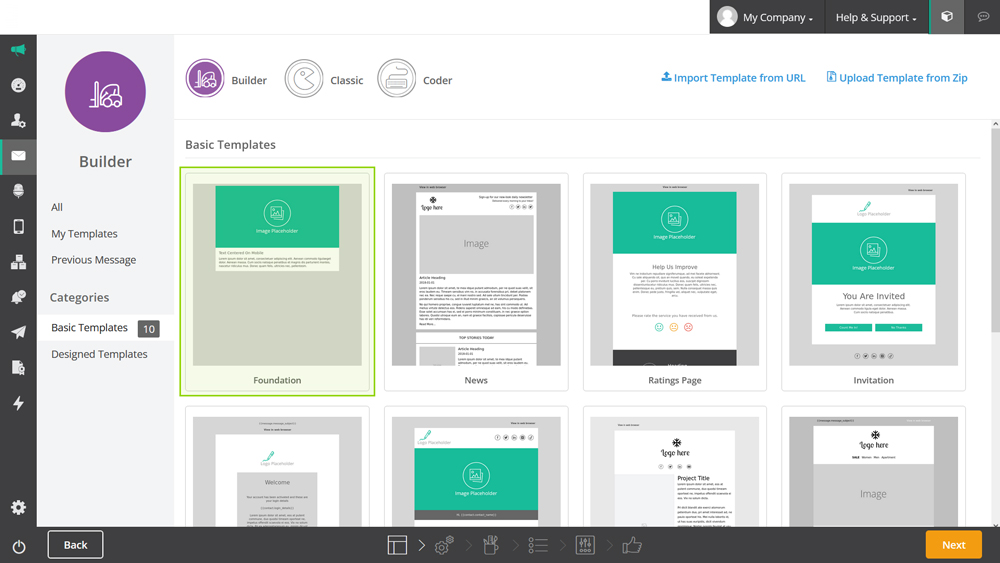
It doesn’t look like much from the outside But it isn’t what the template looks like on the outside that’s so awesome – it’s what it can do on the inside…


- Various column layouts are available, with and without padding.
- Centre-, right-, and left-aligned social media icons can be used, including the TikTok icon. Note: these will always centre align on mobile.
- There’s an icon and header stacking section for mobile, so icons cascade on mobile rather than viewing horizontally, like on desktop.
- List layout sections are available with customisable list icons.
- Two-column tile sections and no-padding sections are also available.
- If you add a 600px-wide icon image into an icon section, the image will automatically rescale on mobile to an appropriate size for that column.
- And more…
We make regular improvements to this and other templates, so test it out to see how it can work best for you.
How to Create a Template
There are two ways to create an email template. The simplest is to find an email you’ve created in the Email History dashboard, clicking on it, and clicking on the Create Template icon in the top right. This will auto-populate the template properties page for you – you just need to add a name and description for it and edit any settings.
You can also create a template by inserting the HTML code from a pre-designed email.
To do this:
- Hover over the envelope icon in the navigation and click Templates. This will take you to the email templates dashboard, where you can view and edit all existing templates.
- Click New.
- Enter a name and description for your template in the template properties and choose a template type.
Template Types
Templates: This is the default, recommended option. Templates are more detailed than components and allow you to pre-define the message fields and the HTML design.
Components: These are message elements like standard logos, headers, or footers that you can pull into emails. To do this, click the Personalisation tab in message composition and insert the component.
- Toggle between the four Message Properties tabs to fill in the data relevant to your template:
- Message Properties: This is for the basics of your email, like the subject line, ‘from’ details, reply email address, and other settings like tracking, Google Analytics, and your email footer.
- Contact Lists: Select the list/s the template will be used for by using the search box and checking the relevant checkboxes. This is optional, as you can choose lists during message composition as well.
- HTML: Insert the message design or HTML source code. You can see all the design elements of your message, copy and paste text, and upload and insert images. Use the Source icon to insert HTML source code or use the action bar to compose the body of the message, insert images, and edit text.
- Text Version: Select how the text version of your email should be sourced.
- When you’re done, click Save.
Viewing Your Templates
To view your existing template:
- Hover over the envelope icon in the left navigation bar and click Templates.
- Find the template you want to view from the existing templates on the left and click on it. This will display a preview of the message on the right, including template and message properties.
- Click Preview to see what the template looks like.
- Click Create to create a message based on the template.