Overview
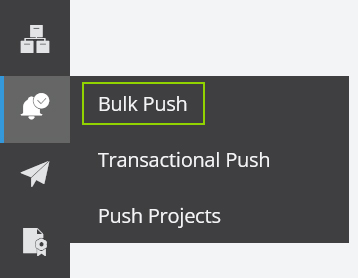
To send a bulk push notification:
- Go to: Push Notifications (the bell and tick icon in the left-hand navigation on the system dashboard) > Bulk Push. This will take you to the bulk push dashboard where you can view all your previously created push notifications.
- Click on the orange Create Message button in the top-left corner of the screen.

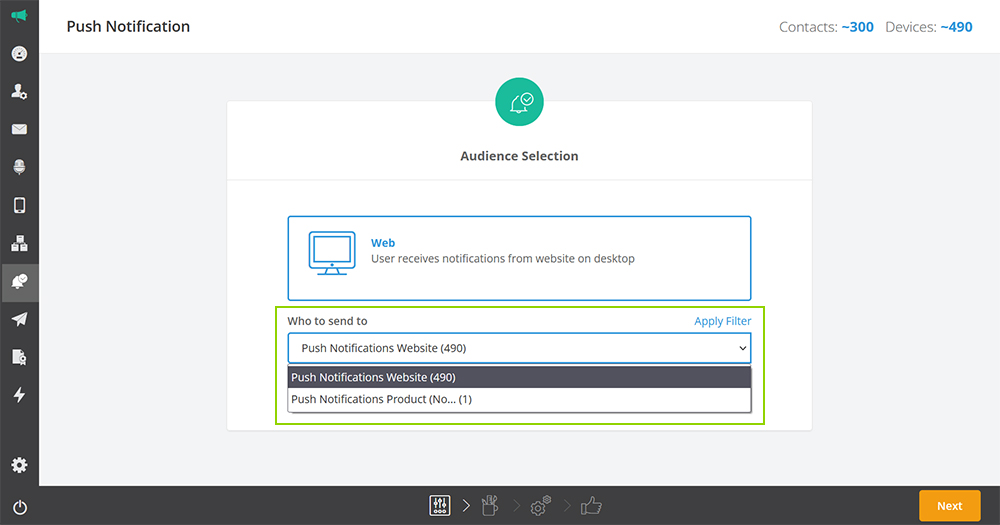
- Select the audience (push project) you’d like to send your push notification to and click Next. If you haven’t created a push project yet, click on Manage Push Projects to go to the push projects page.
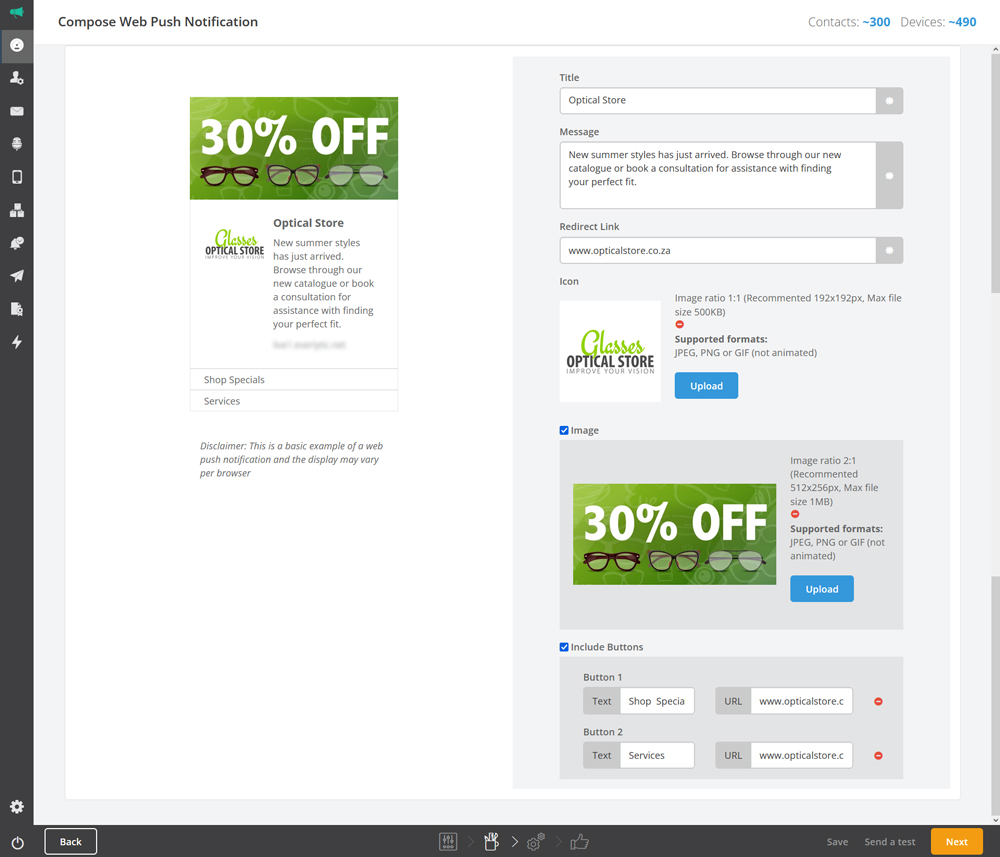
- On the next page, compose your push notification message, including:
- A title
- Message text
- A redirect link, where the user will go if they click on the body of the push notification
- An icon (optional)
- An image (optional)
- Up to two buttons that can direct to entirely different URLs to the redirect link, if you need (optional)
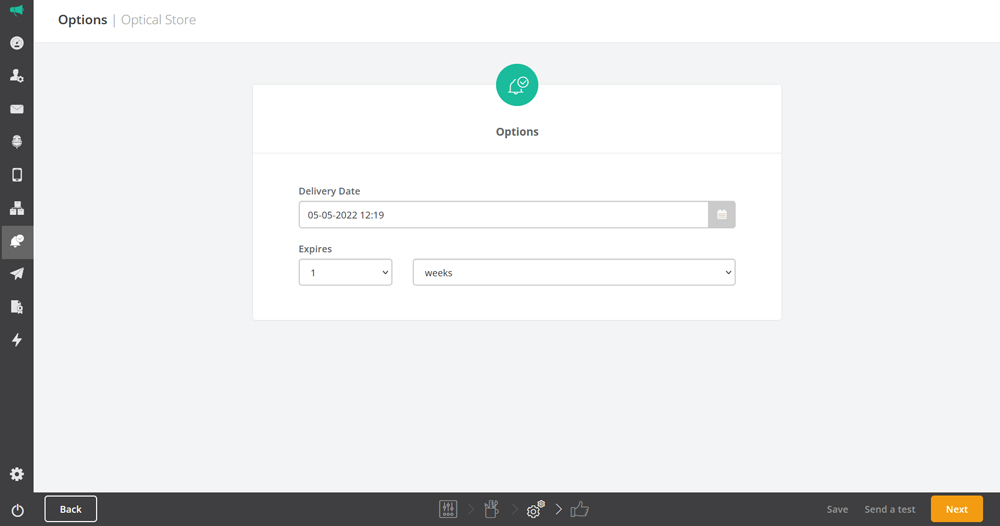
5. Once you’ve composed your push notification, click Next to select the delivery date and time, as well as a time frame after which you’d like the push notification to expire. Then click Next again.
6. On this confirmation page, you can review your push notification settings before sending or scheduling.
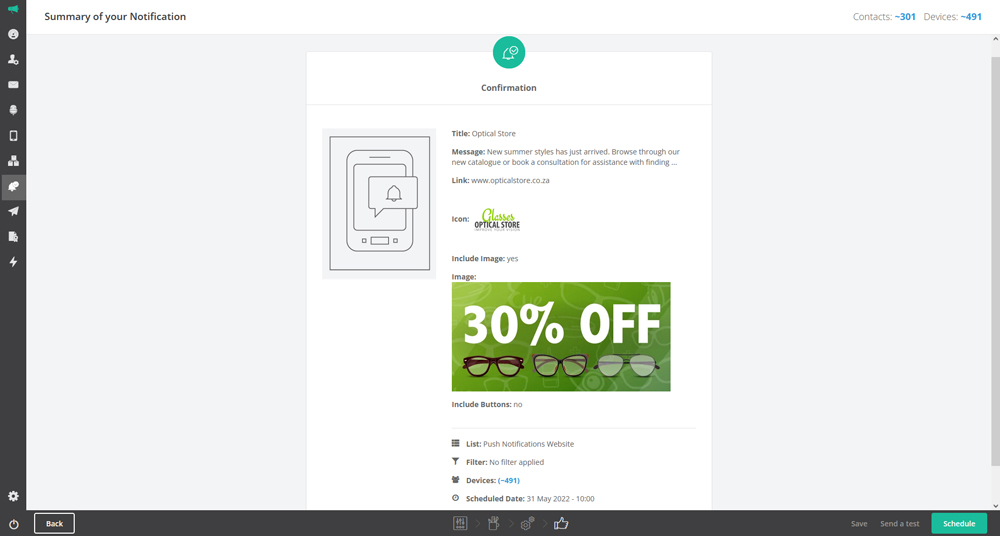
In the bottom-right navigation, you’ll see that you can also:
- Save your push notification message at any stage of composition to return to it later.
- Send a test push notification to a specified contact on your push notifications project.

How to use Push Notifications in Workflows
Workflows allow you to map a contact journey, including multiple messages and decision points across various channels (email, SMS, voice, and push notifications).
Note: We recommend being comfortable with sending bulk push notifications before putting one into a workflow as the SDK / API must be set up correctly.
Prerequisites
- You need to have installed and set up our SDK / API correctly.
- You’ll need to be familiar with our API. See Getting started with our API.
- You need to be familiar with how our workflows work. See Create Workflows.
Setting up the Workflow
To set up a workflow for your push notifications subscribers:
- Go to: Workflows (the icon with three connected boxes) > Create Workflow.
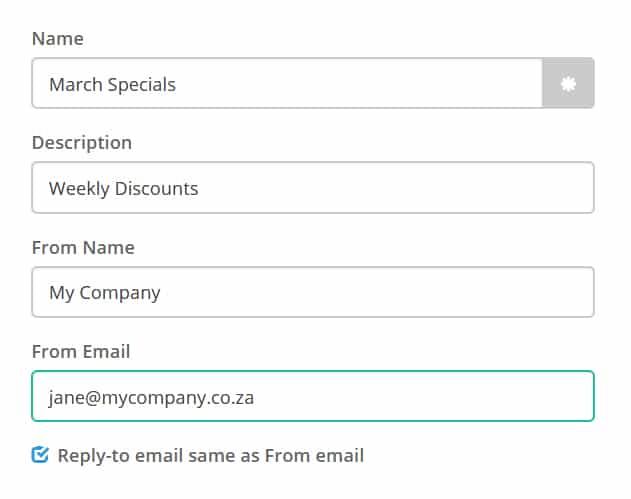
- Specify your workflow properties, including:
- A workflow name
- A description for your workflow
- The name of the person or company that you’d like your workflow messages to come from
- The email address that you’d like your messages to come from
- Click the orange Next button in the bottom-right corner of the screen.
Custom ID vs Unique ID:
Custom IDs are ones you specify yourself. Unique IDs are generated by the system – i.e.: the contact ID that’s generated when the contact is imported.
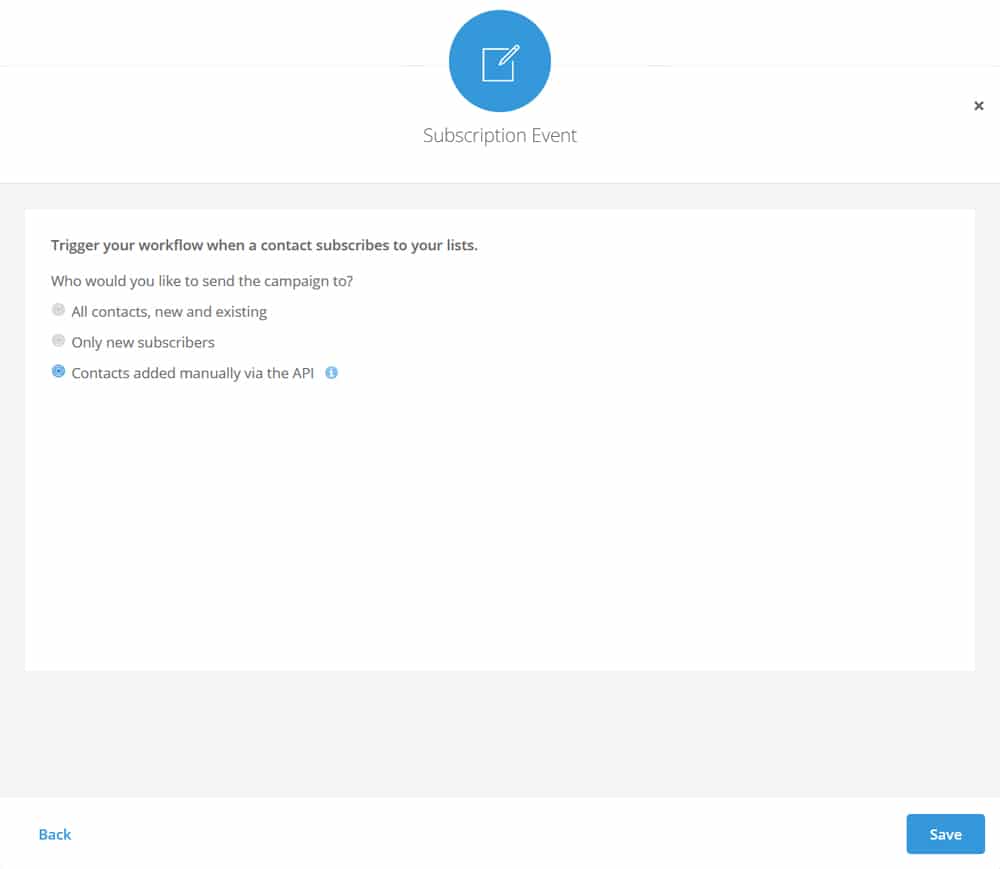
- In the Workflow Builder, click on the Start Workflow On.
- Select the option to start your workflow on a subscription event and specify that you’d like to send the campaign to contact added manually via the API.
- Click Save.
- To add a push notification node to the workflow, select the turquoise plus icon, select the blue action icon, and select the Send Push icon at the bottom.
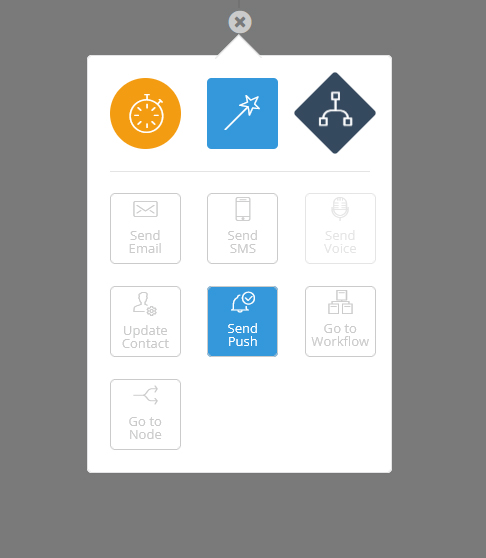
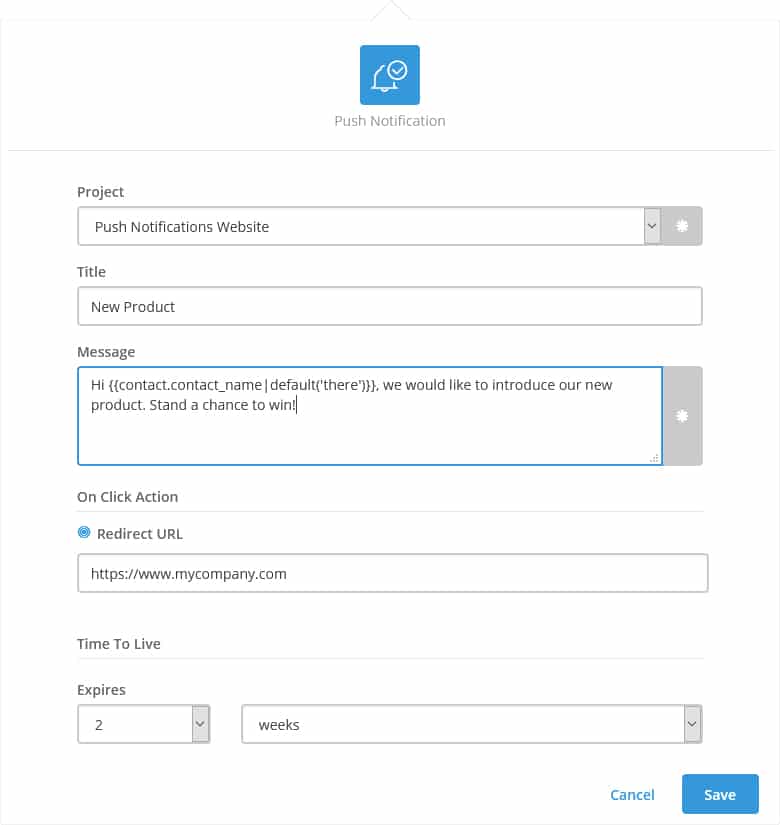
- This will open a push notification modal like the one in the standard bulk push creation tool. Use this to specify your push notification message and settings.
- Click Save.
- Create the rest of your workflow as described in Create Workflow.
- Click on the orange Next button in the bottom-right of the screen.
- Select the list you set up in the push projects.
- Click Next.
- Specify the rest of your workflow settings.
- Click Next.
- Review your workflow settings on the Workflow Confirmation screen.
- If you’re happy with the workflow and its settings, click the turquoise Launch button in the bottom right of the screen.

